Getting Started with MkDocs
May 26, 2020
Good documentation is what makes a project great. I was recently introduced to a new way to create documentation, MkDocs, and have since created a documentation site for my open-source project pyTigerGraph, as well as updating my personal portfolio page to it. MkDocs is a really easy way to create great looking documentation, only using markdown and a couple configuration files. To make things even better, you can easily deploy the hosting of these documents to GitHub pages.
Installation and Getting Started
First, make sure you have Python and pip installed. The simply run: pip install mkdocs. Once this is done, it is time to create our new MkDocs project. For a documenting a project, you probably want all the documentation to reside inside the main directory of the project. To do this, open a terminal to that directory, and then run mkdocs new my-project where my-project is the project name that you desire. This will then create a new folder named after whatever the project name is. You want to then take the contents out of this folder, and move them into your project folder. Therefore, you should have a project file structure like this:
project -
         |- docs -
         |       |- index.md
         |       |- anyothermarkdownfiles.md
         |       |_ stylesheets - (this has to be created)
         |                       |_ extra.css (this has to be created)
         |
         |-mkdocs.yml
         |
         |- other project files
To make sure that this works, simply run mkdocs serve in your terminal and open up 127.0.0.1:8000 in your web browser. It should show something like this:
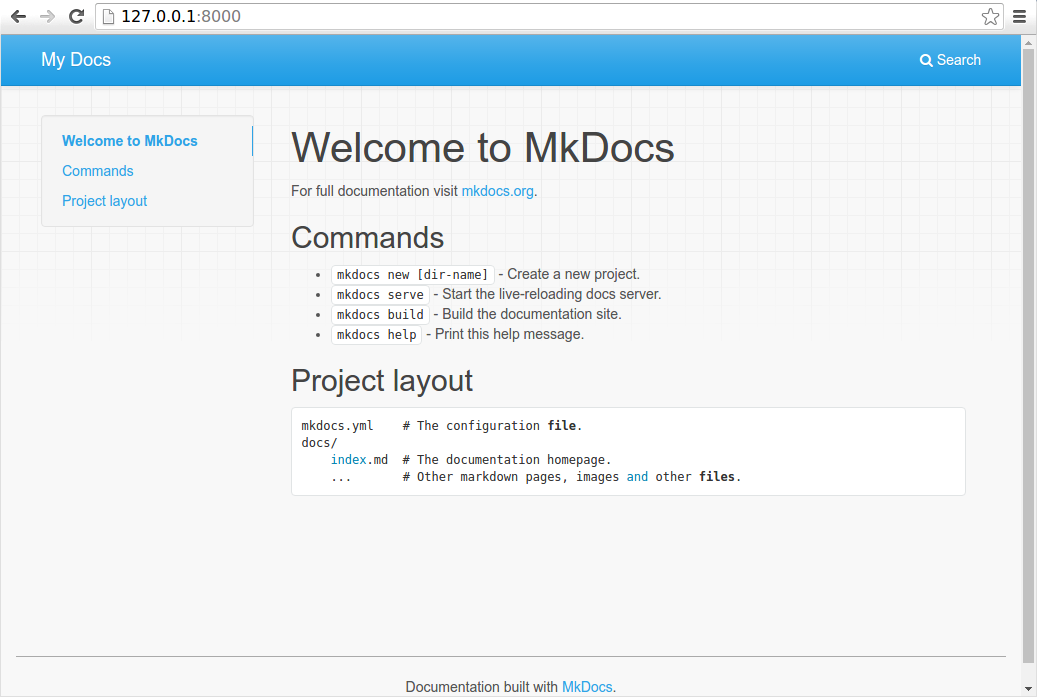 Screenshot from MkDocs documentation
You can then edit the index.md page that was automatically generated with your homepage content. Saving the markdown files tracked by MkDocs automatically refreshes the preview server that is locally hosted.
Adding Pages
After editing your homepage, you probably want to add other pages to your documentation. To do this, we open up the mkdocs.yml file. Initially, it probably looks somthing like this:
site_name: MkLorum
nav:
    - Home: index.md
You can change the site name by simply changing the site_name parameter in the file. To add another page, create a new markdown file, such as gettingStarted.md. Then, we will add it to the YAML file like this:
site_name: MkLorum
nav:
    - Home: index.md
    - Getting Started: gettingStarted.md
Follow this process for any other files that you want included on the webpage.
Choose Your Theme
Personally, I don't like the default website theme provided by MkDocs. For both my personal and project page, I opted for the material theme. To use this theme, run pip install mkdocs-material, and add this to your mkdocs.yml file:
theme:
  name: material
Other themes can be viewed here. The customization step below might work on different themes, but has not been tested.
Customize
To change the color of the theme, we will create a CSS file. In the YAML file, we need to declare that we want to use this file, done by:
extra_css:
  - stylesheets/extra.css
Then we need to create the stylesheets folder, inside of the docs folder. Then we will create the extra.css file. This file will look like this:
:root {
    /* Primary color shades */
    --md-primary-fg-color:               #7A0019;
    --md-primary-fg-color--light:        #ffffff;
    --md-primary-fg-color--dark:         #7A0019;
    --md-primary-bg-color:               #ffffff;
    --md-primary-bg-color--light:        #ffffff;
    --md-text-link-color:                #7A0019;

    /* Accent color shades */
    --md-accent-fg-color:                #7A0019;
    --md-accent-fg-color--transparent:   #7A0019;
    --md-accent-bg-color:                #7A0019;
    --md-accent-bg-color--light:         #7A0019;
}
This file is where you can define any sort of custom color scheme. In the case above, it is maroon and white.
With the material theme, we can also add a logo and favicon to our site. This can be done by adding under the theme area in mkdocs.yml:
theme:
  name: material
  logo: https://avatars1.githubusercontent.com/u/9616171?s=460&v=4
  favicon: https://avatars1.githubusercontent.com/u/9616171?s=460&v=4
This adds my GitHub profile picture to the site, but it could also be an image found within the repository.
We can also add the status of the desired repository. To do this, simply add repo_url: REPO_NAME_HERE to mkdocs.yml.
My personal portfolio website also contains links to various social media platforms at the bottom. Add this to your mkdocs.yml:
extra:
  social:
    - icon: fontawesome/brands/github
      link: https://github.com/parkererickson
    - icon: fontawesome/brands/twitter
      link: https://twitter.com/p_erickson30
    - icon: fontawesome/brands/linkedin
      link: https://linkedin.com/in/parker-erickson
    - icon: fontawesome/brands/medium
      link: https://medium.com/@parker.erickson
In total, your mkdocs.yml should look something like this:
site_name: Parker Erickson
nav:
  - 'Home': index.md
  - 'Projects': projects.md
  - 'Blog':
    - 'Getting Started with MkDocs': blog/gettingStartedWithMkdocs.md
    - 'IPO Prediction Using Graph Convolutional Neural Networks': blog/ipoGCN.md
    - 'Do You Really Need Trash Cans?': blog/doYouReallyNeedTrashCans.md

theme:
  name: material
  logo: https://avatars1.githubusercontent.com/u/9616171?s=460&v=4
  favicon: https://avatars1.githubusercontent.com/u/9616171?s=460&v=4

extra:
  social:
    - icon: fontawesome/brands/github
      link: https://github.com/parkererickson
    - icon: fontawesome/brands/twitter
      link: https://twitter.com/p_erickson30
    - icon: fontawesome/brands/linkedin
      link: https://linkedin.com/in/parker-erickson
    - icon: fontawesome/brands/medium
      link: https://medium.com/@parker.erickson

extra_css:
  - stylesheets/extra.css
Deploy
To deploy to GitHub pages, make sure you have a GitHub repository initialized and properly setup. Then, make sure to add site/ to your .gitignore. Then, simply run mkdocs gh-deploy. This should create a new branch in your repository, compile your Markdown and other files into HTML and CSS, and enable GitHub Pages to host it. After a while, you should be able to go to YOUR-ORGANIZATION-NAME.github.io/YOUR-REPO-NAME to view the completed documentation.